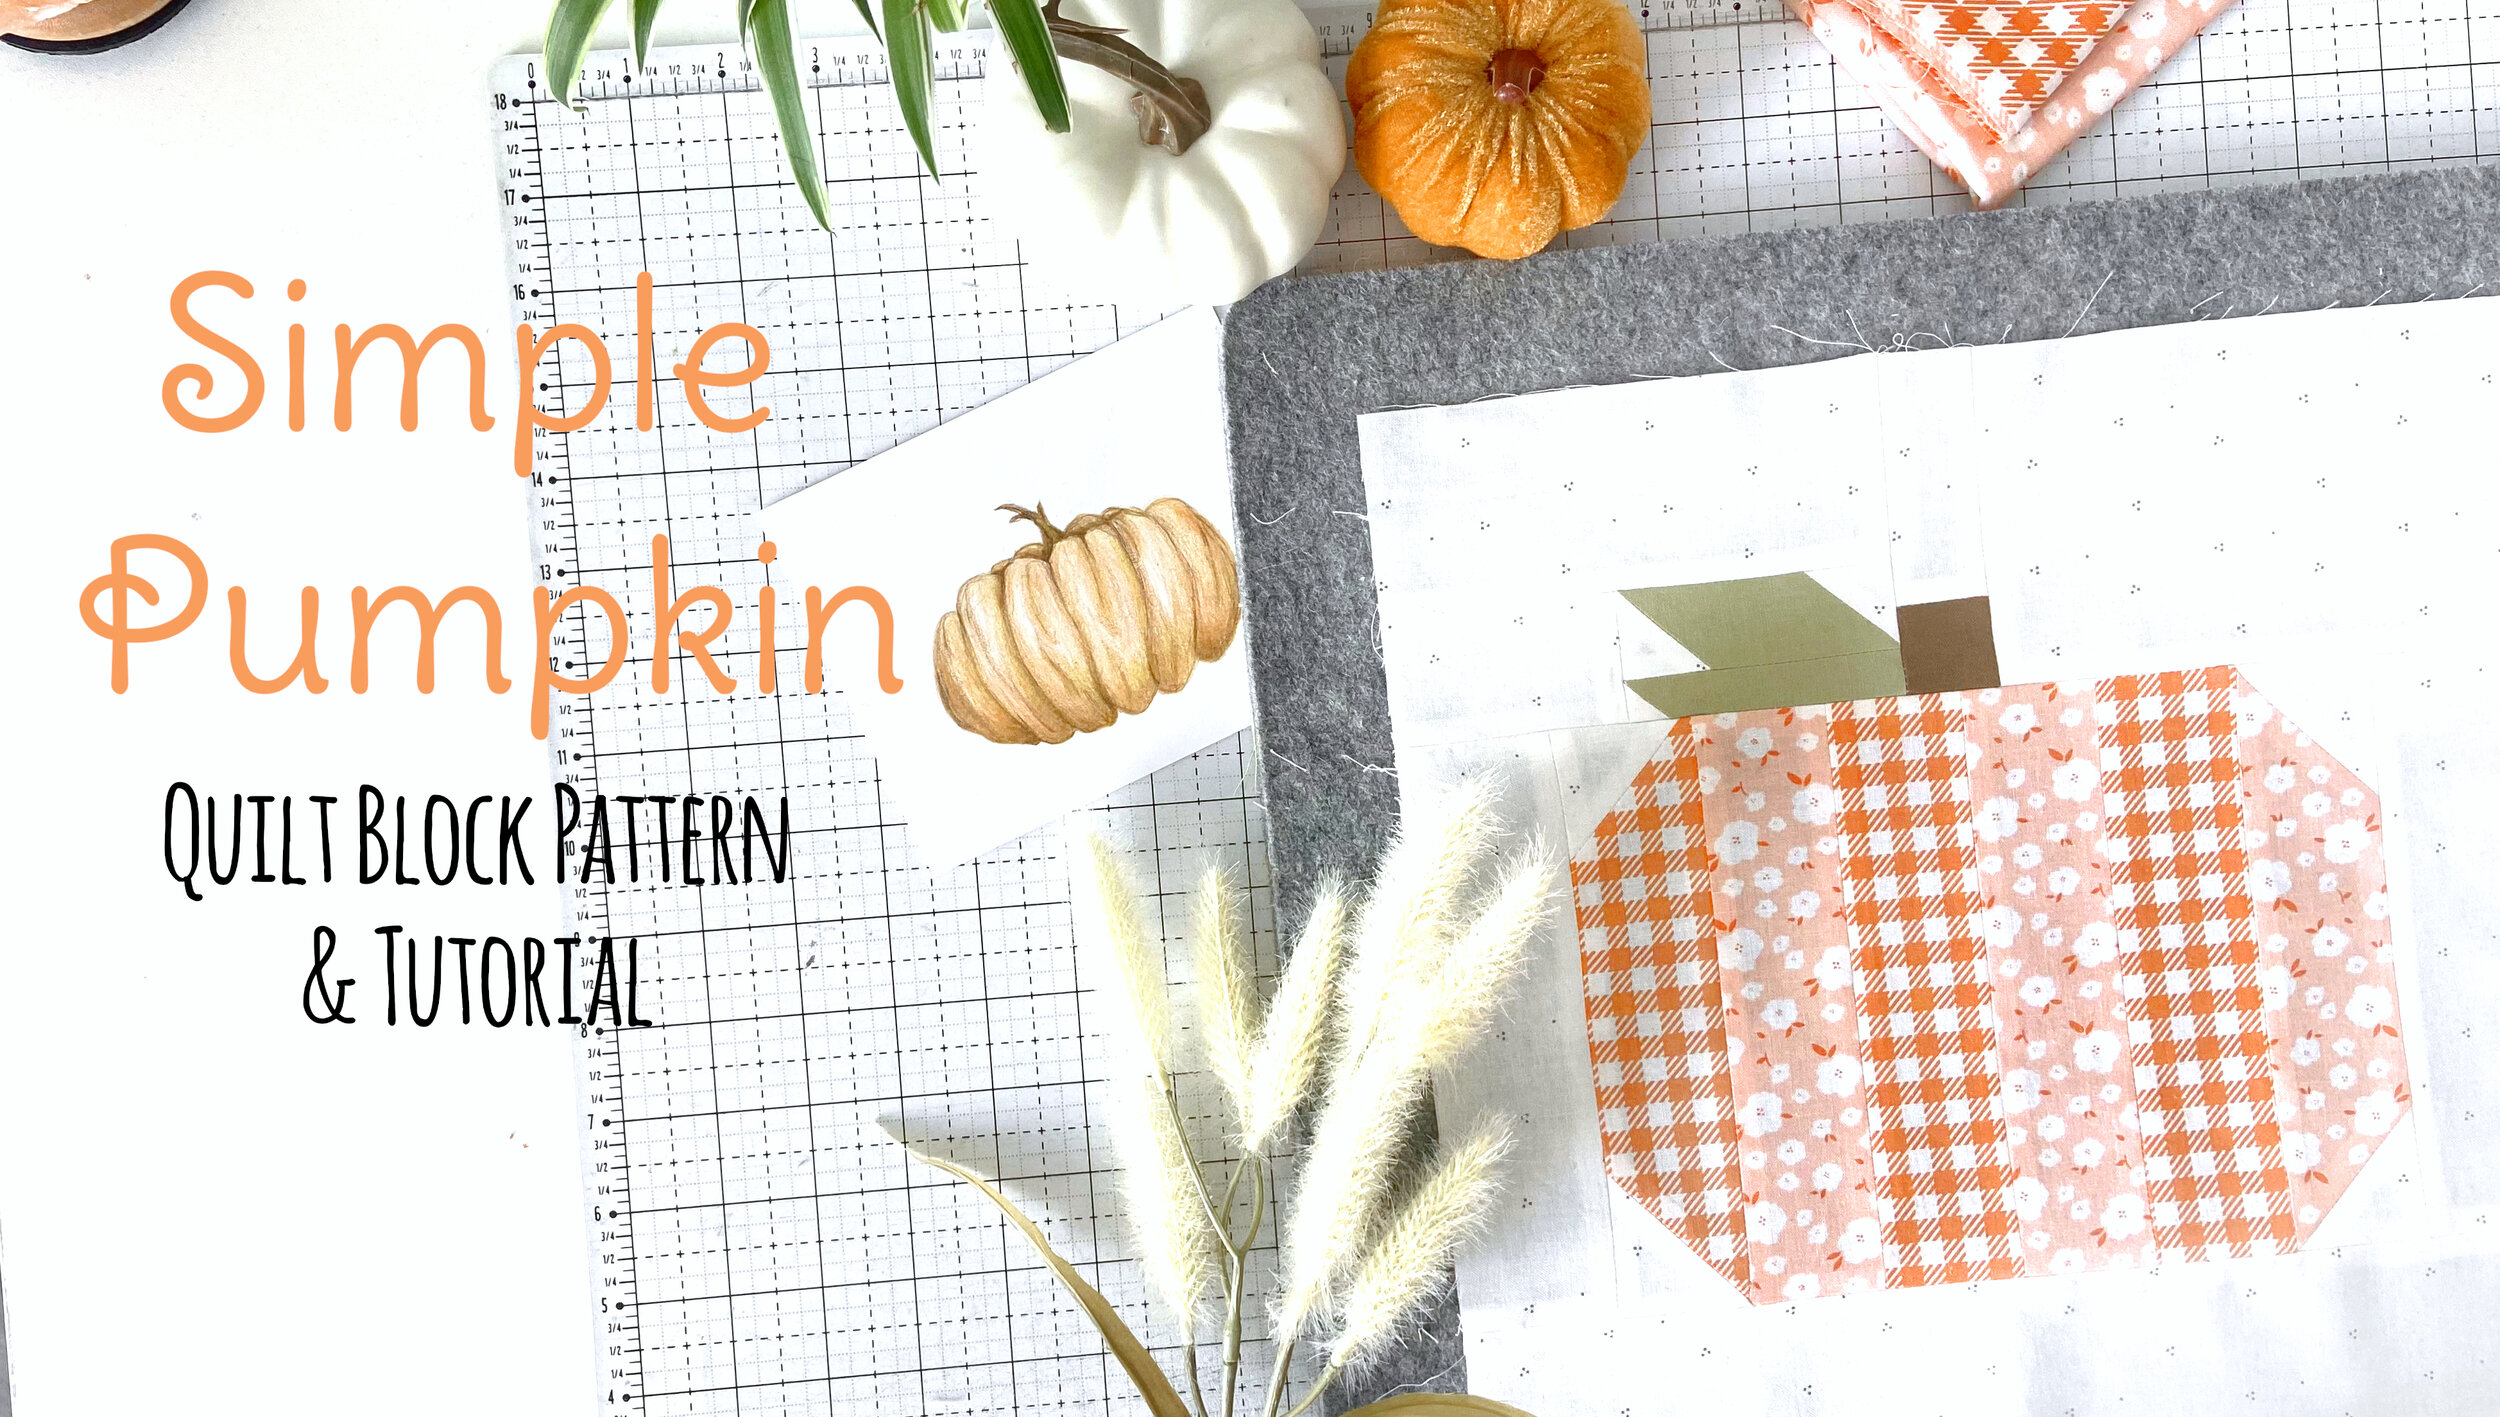
Simple Pumpkin - Free Quilt Block Pattern and Tutorial
I think Fall may just be my favorite season…and as such I have a slight obsession with pumpkins. I have designs/released 10 pumpkin-themed quilt block patterns!! Who knew that one could make that many different pumpkin blocks lol. Curious minds can see all of my pumpkin patterns here.
Today, I am sharing with you a free pattern and tutorial for a super simple pumpkin quilt block, perfect for Fall! The pattern makes 6”, 12”, 18”, and 24” finished blocks. Scroll through this blog post to follow the tutorial, download/print the free pattern, and check out the YouTube tutorial!

Mark a diagonal line on the wrong side of the 5 pieces. With right sides facing, place a 5 piece on the bottom left corner of the 11 piece. Stitch on the marked line. Trim ¼” away from the stitched line and press. Repeat on the top right corner of the 11 piece.

2. Mark a diagonal line on the wrong side of the 6 pieces. With right sides facing, place a 6 piece on the bottom left corner of the 12 piece. Stitch on the marked line. Trim ¼” away from the stitched line and press. Join the 11 piece to the top of the 12 piece. Join the 2 piece to the left side of the 12 piece to form the leaf unit. Join the 1 piece to the top of the leaf unit.


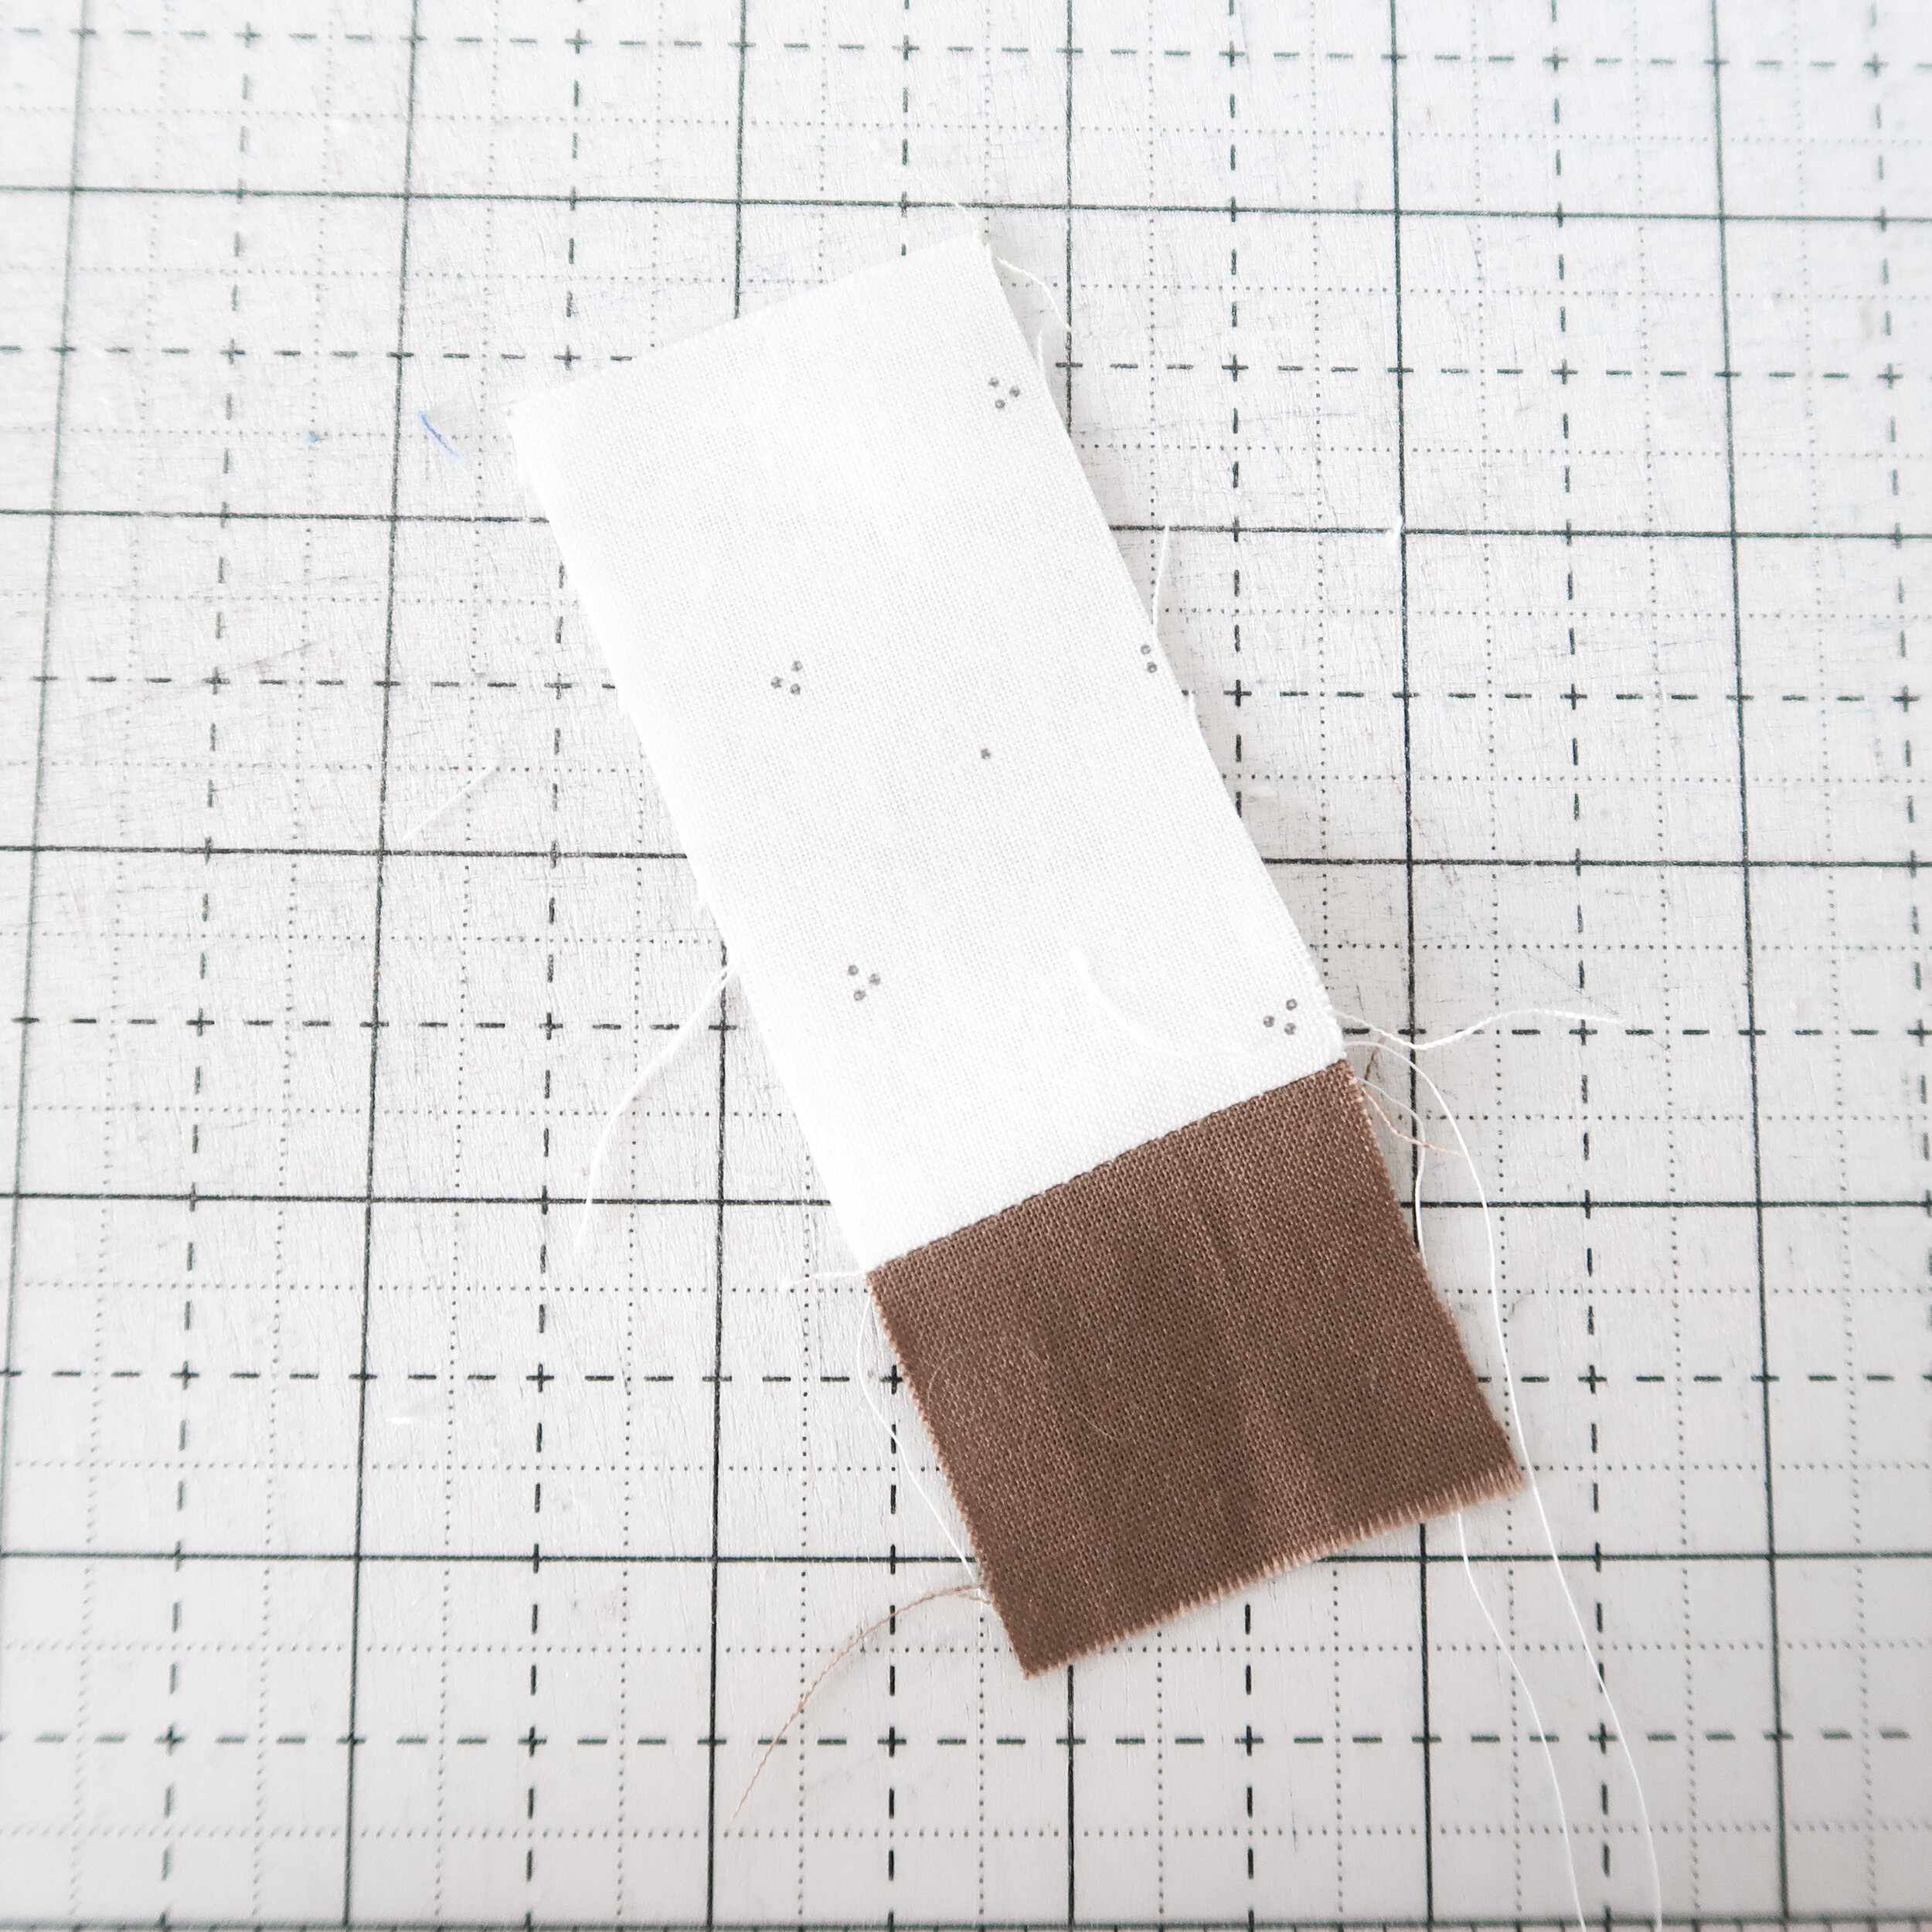
3. Join the 4 piece to the top of the 10 piece to form the stem unit. Join the 3 piece to the right side of the stem unit and join the leaf unit to the left side of the stem unit.

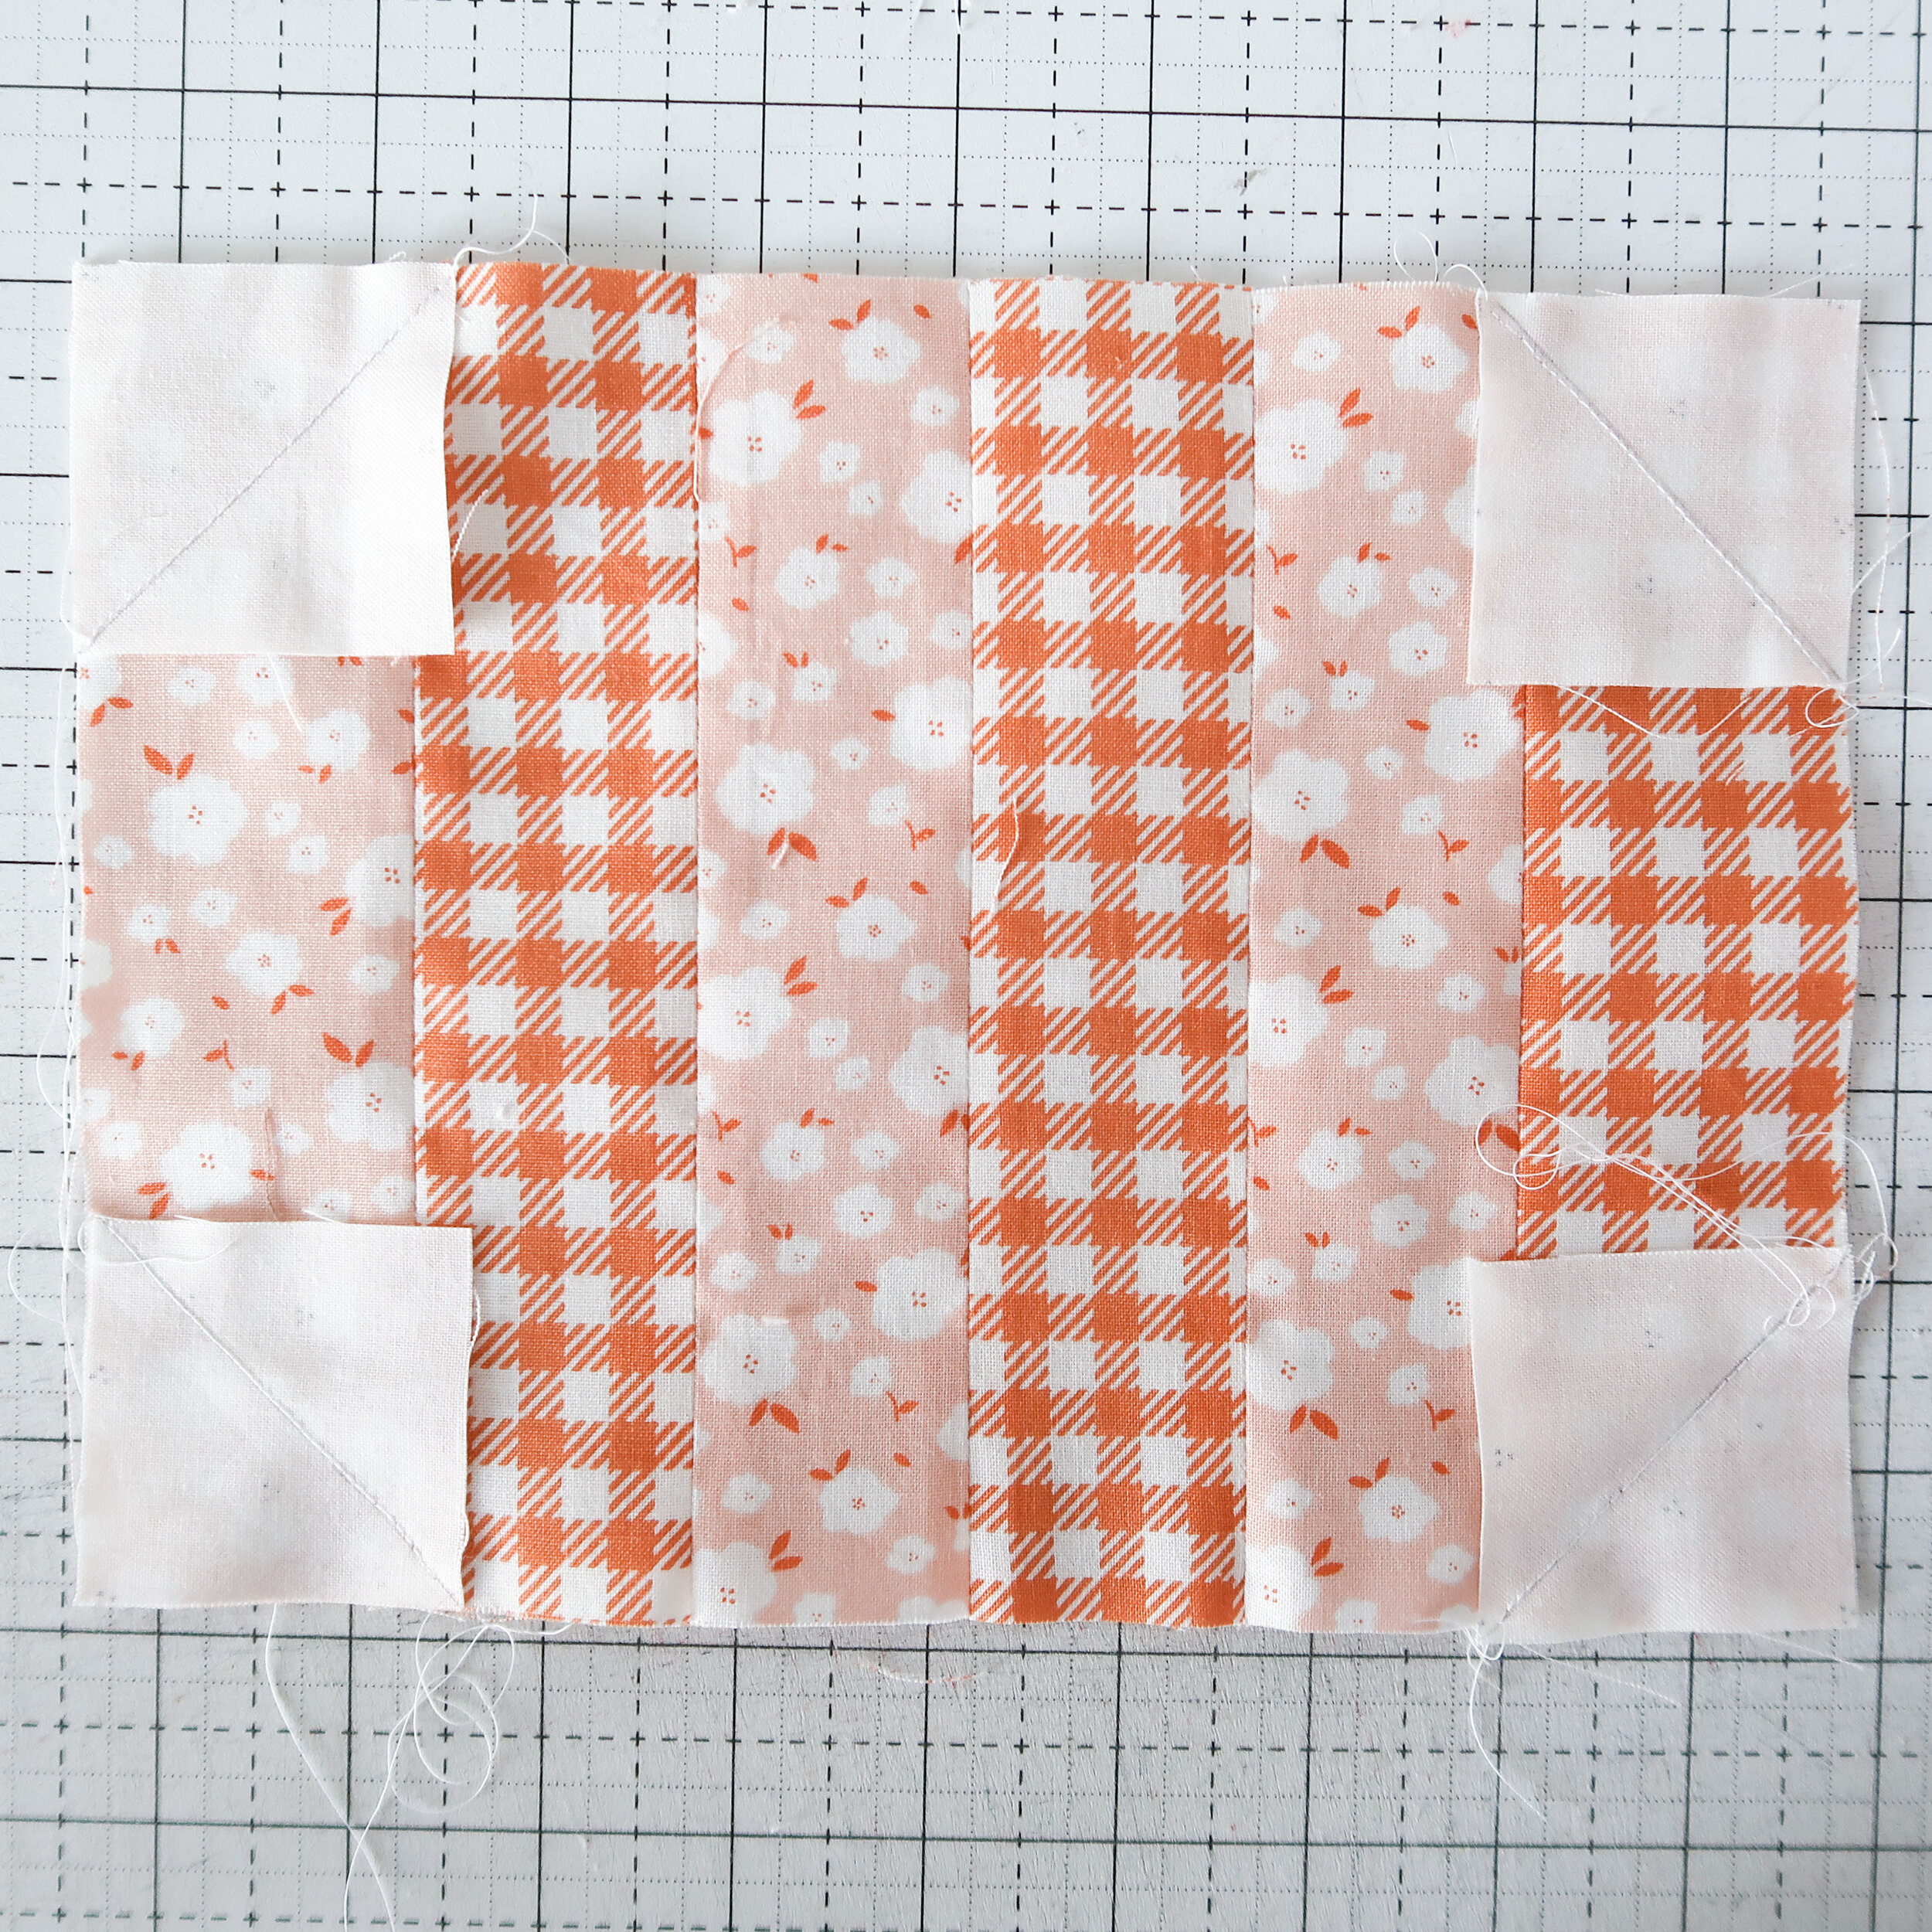
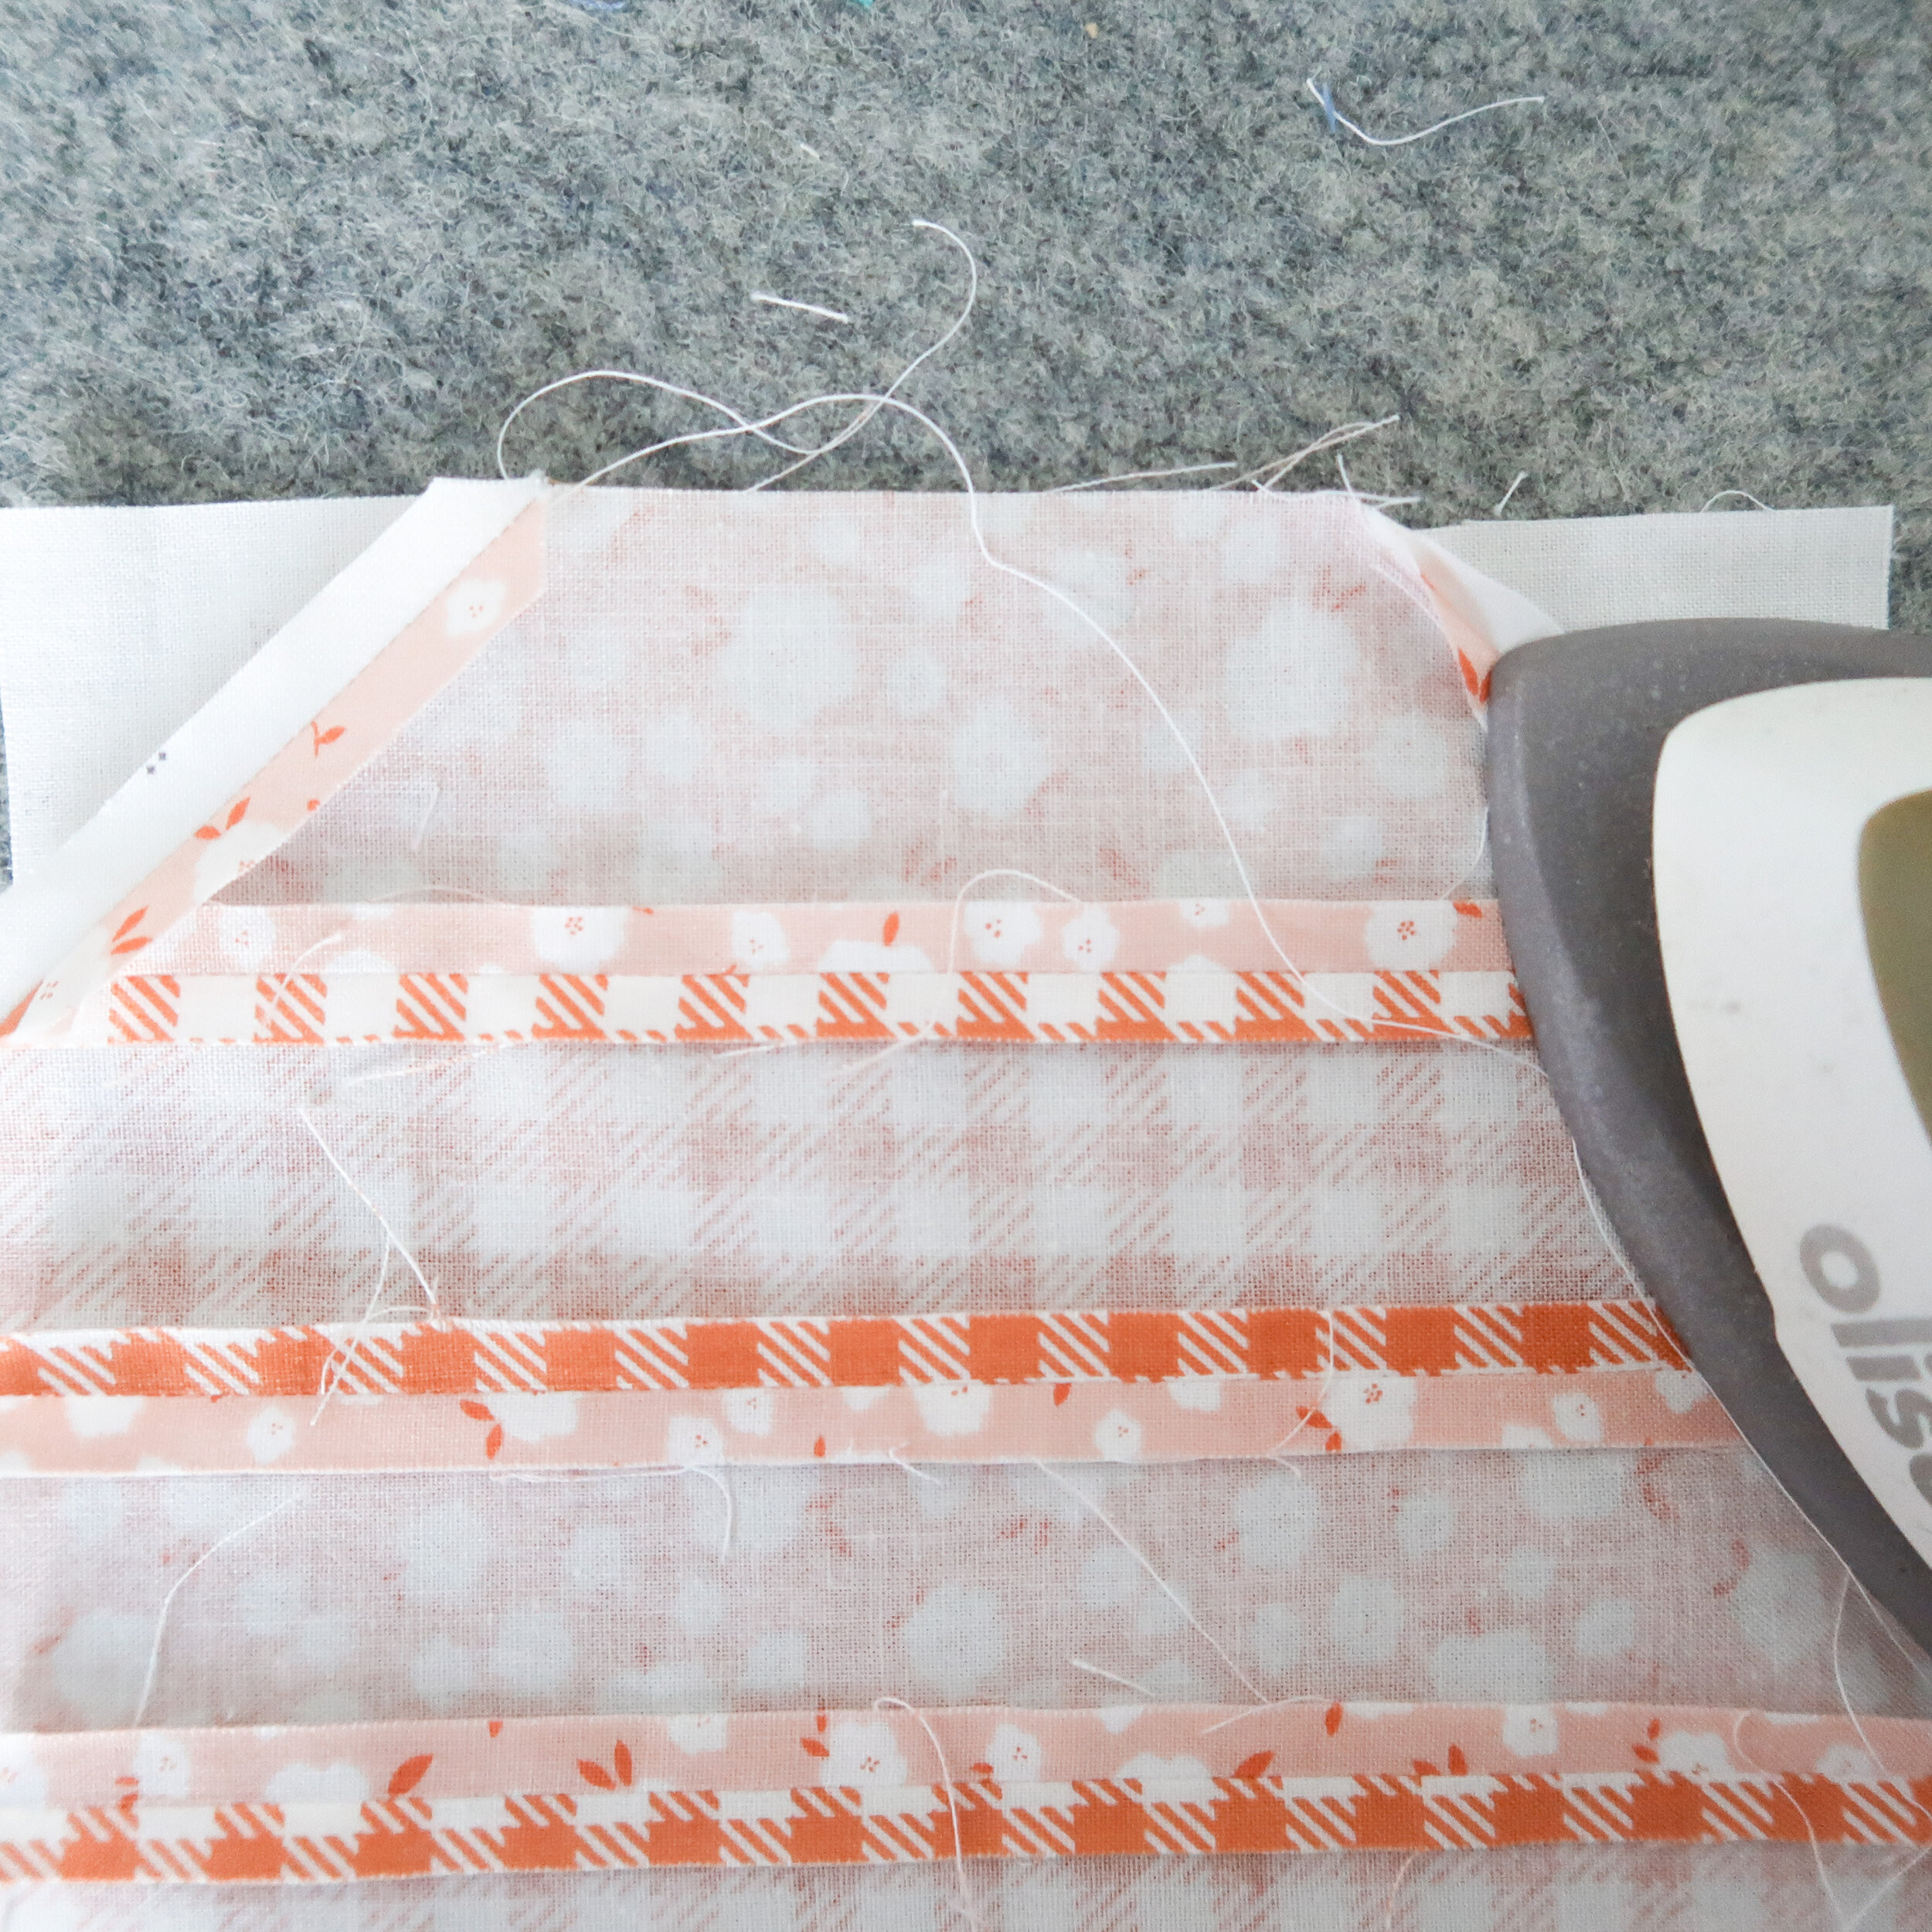
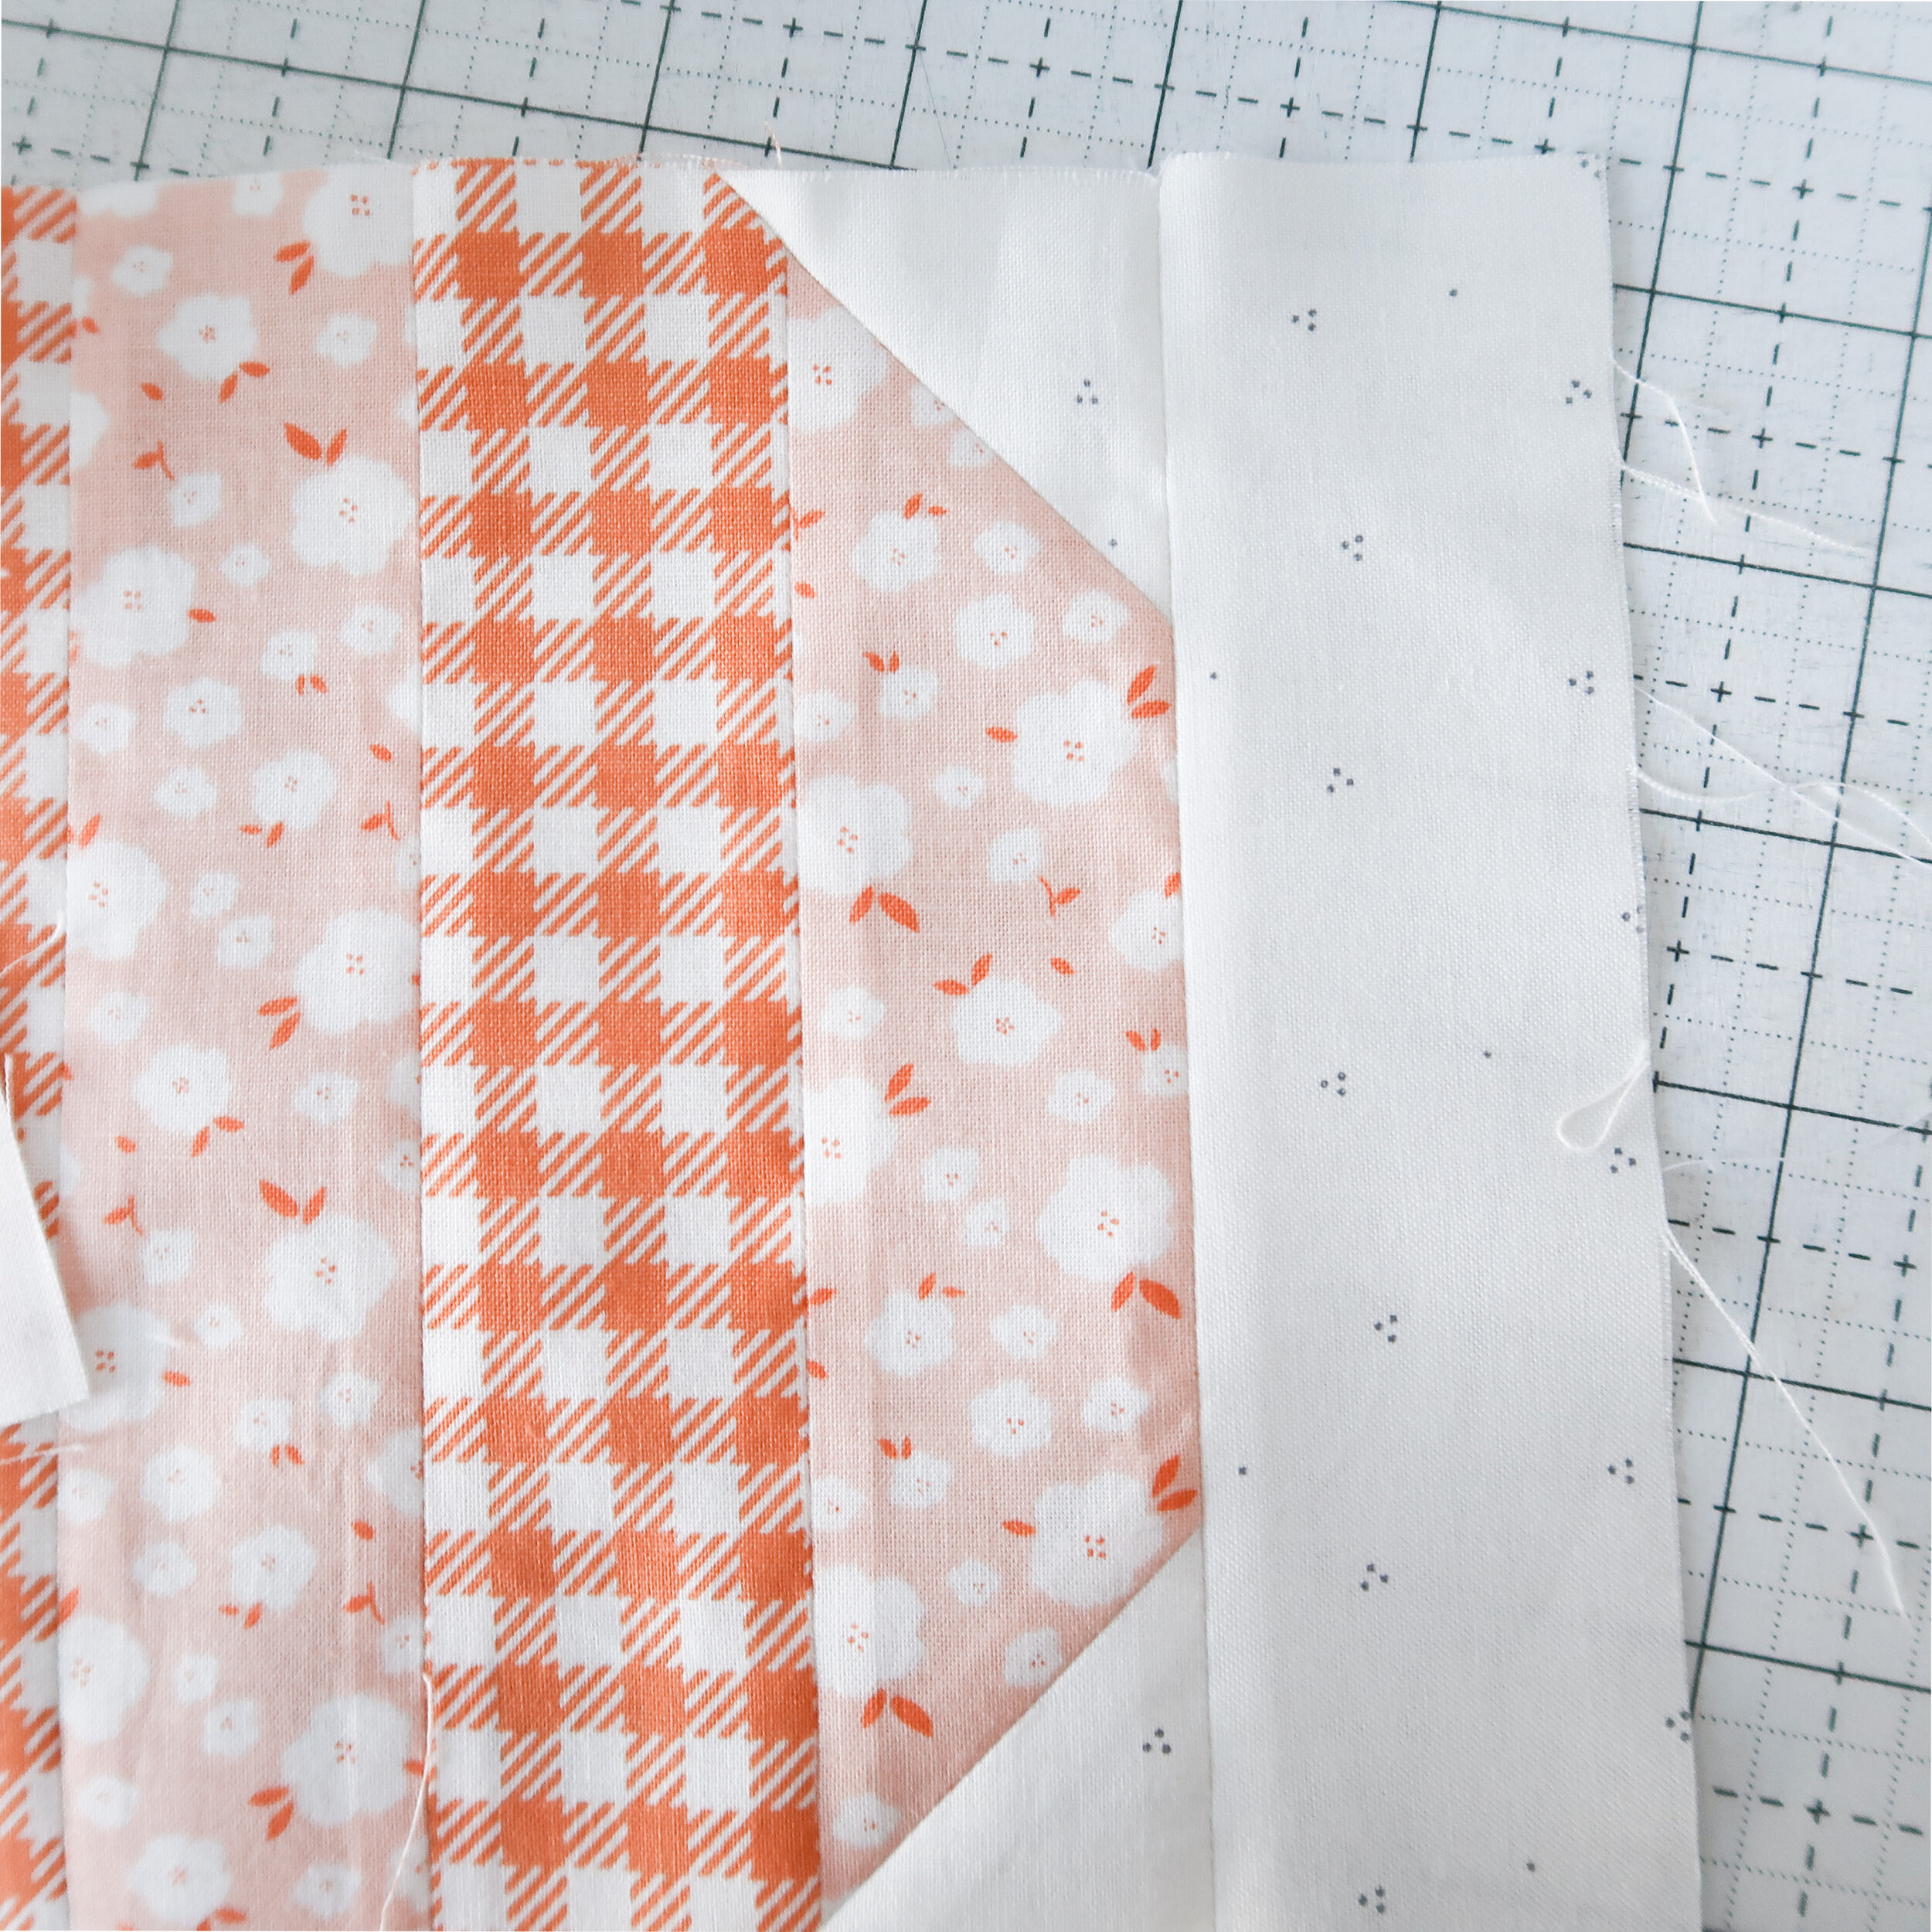
4. Join the 13 pieces and the 14 pieces together as pictured, alternating, beginning with a 13 piece and ending with a 14 piece to form the pumpkin unit.

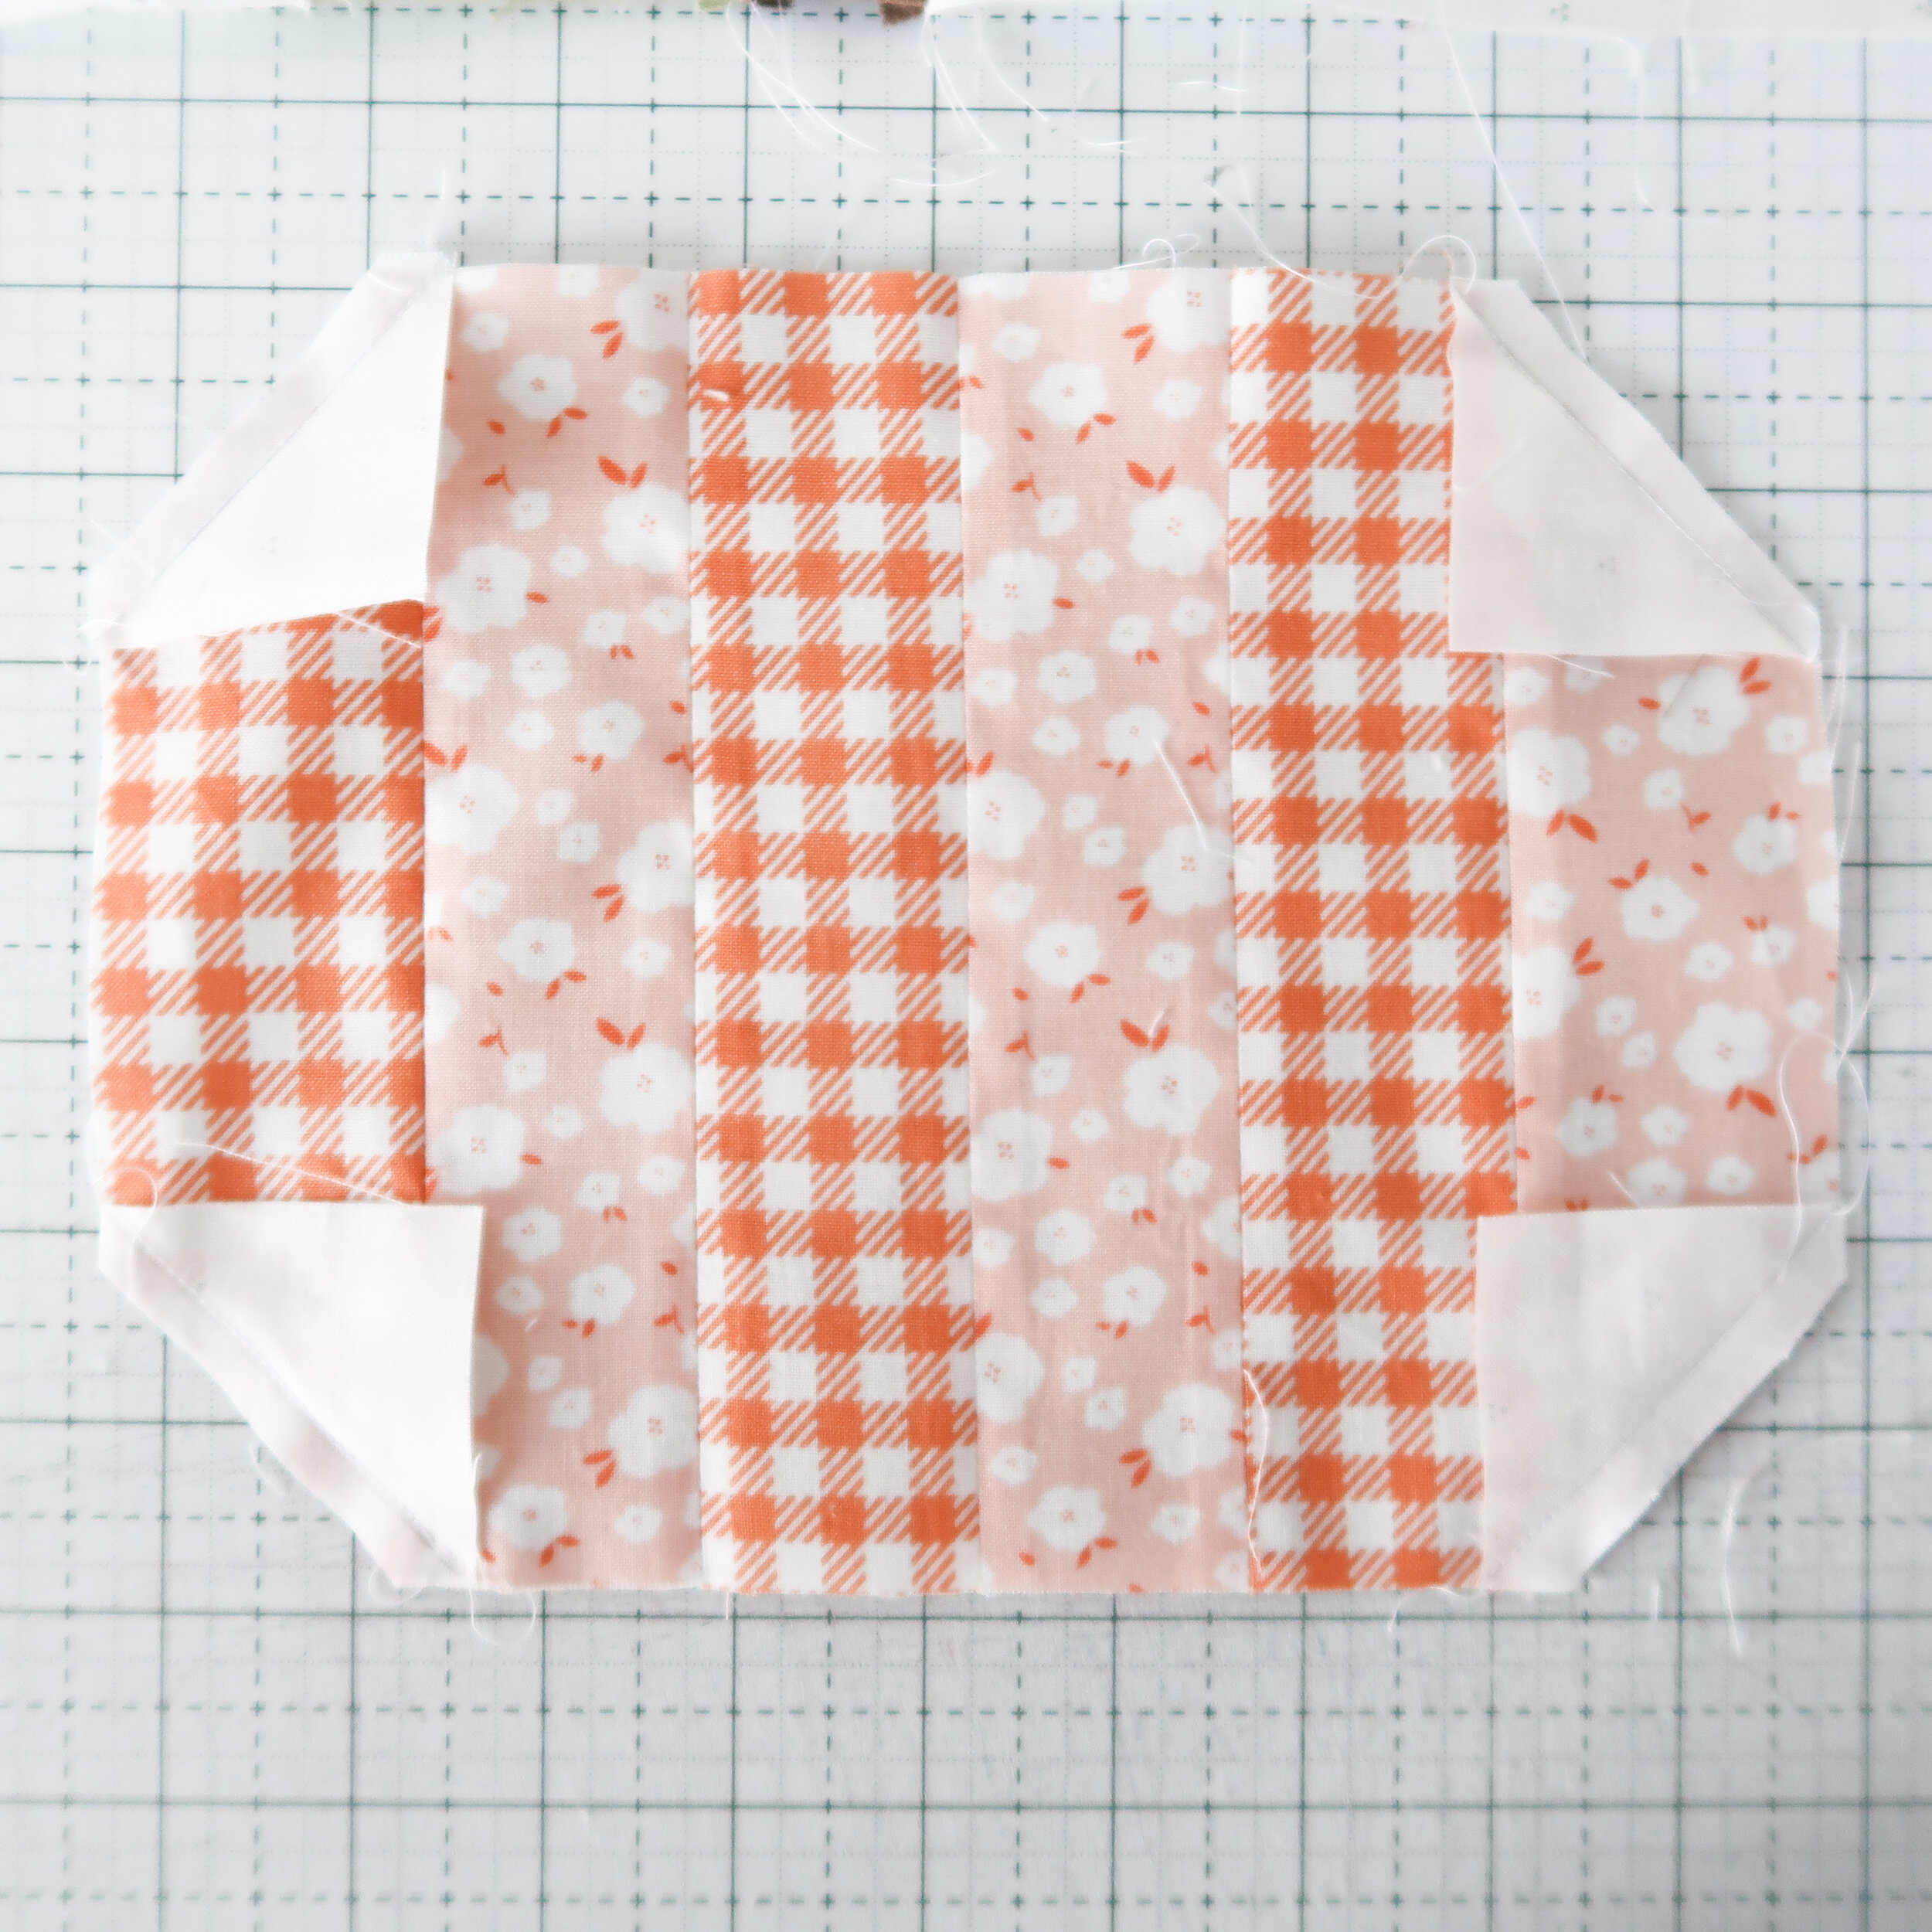
5. Mark a diagonal line on the wrong side of the 7 pieces. With right sides facing, place a 7 piece on the top left corner of the pumpkin unit. Stitch on the marked line. Trim ¼” away from the stitched line and press. Repeat on all remaining corners of the pumpkin unit. Join an 8 piece to the left and right sides of the pumpkin unit.
6. Join the stem unit to the top of the pumpkin unit and join the 9 piece to the bottom of the pumpkin unit to form the finished block.
